Do You Need a Crawl Space Dehumidifier? Here’s How to Know
If you’ve been researching crawl space moisture problems, a dehumidifier has probably come up as part of the solution. But there’s a fair amount of confusion around what a crawl space dehumidifier actually does, whether you need one, and what separates a unit that works from one that just runs up your electric bill without solving anything. This post answers those questions directly.
What a Crawl Space Dehumidifier Does and Why It Matters
A crawl space dehumidifier pulls moisture out of the air in the space beneath your home and maintains relative humidity at a level where mold, wood rot, and structural damage can’t take hold. The target in a crawl space is generally below 55 to 60 percent relative humidity. Above that range, the conditions favor mold growth on wood framing, and the wood itself begins absorbing moisture in ways that reduce its structural integrity over time.
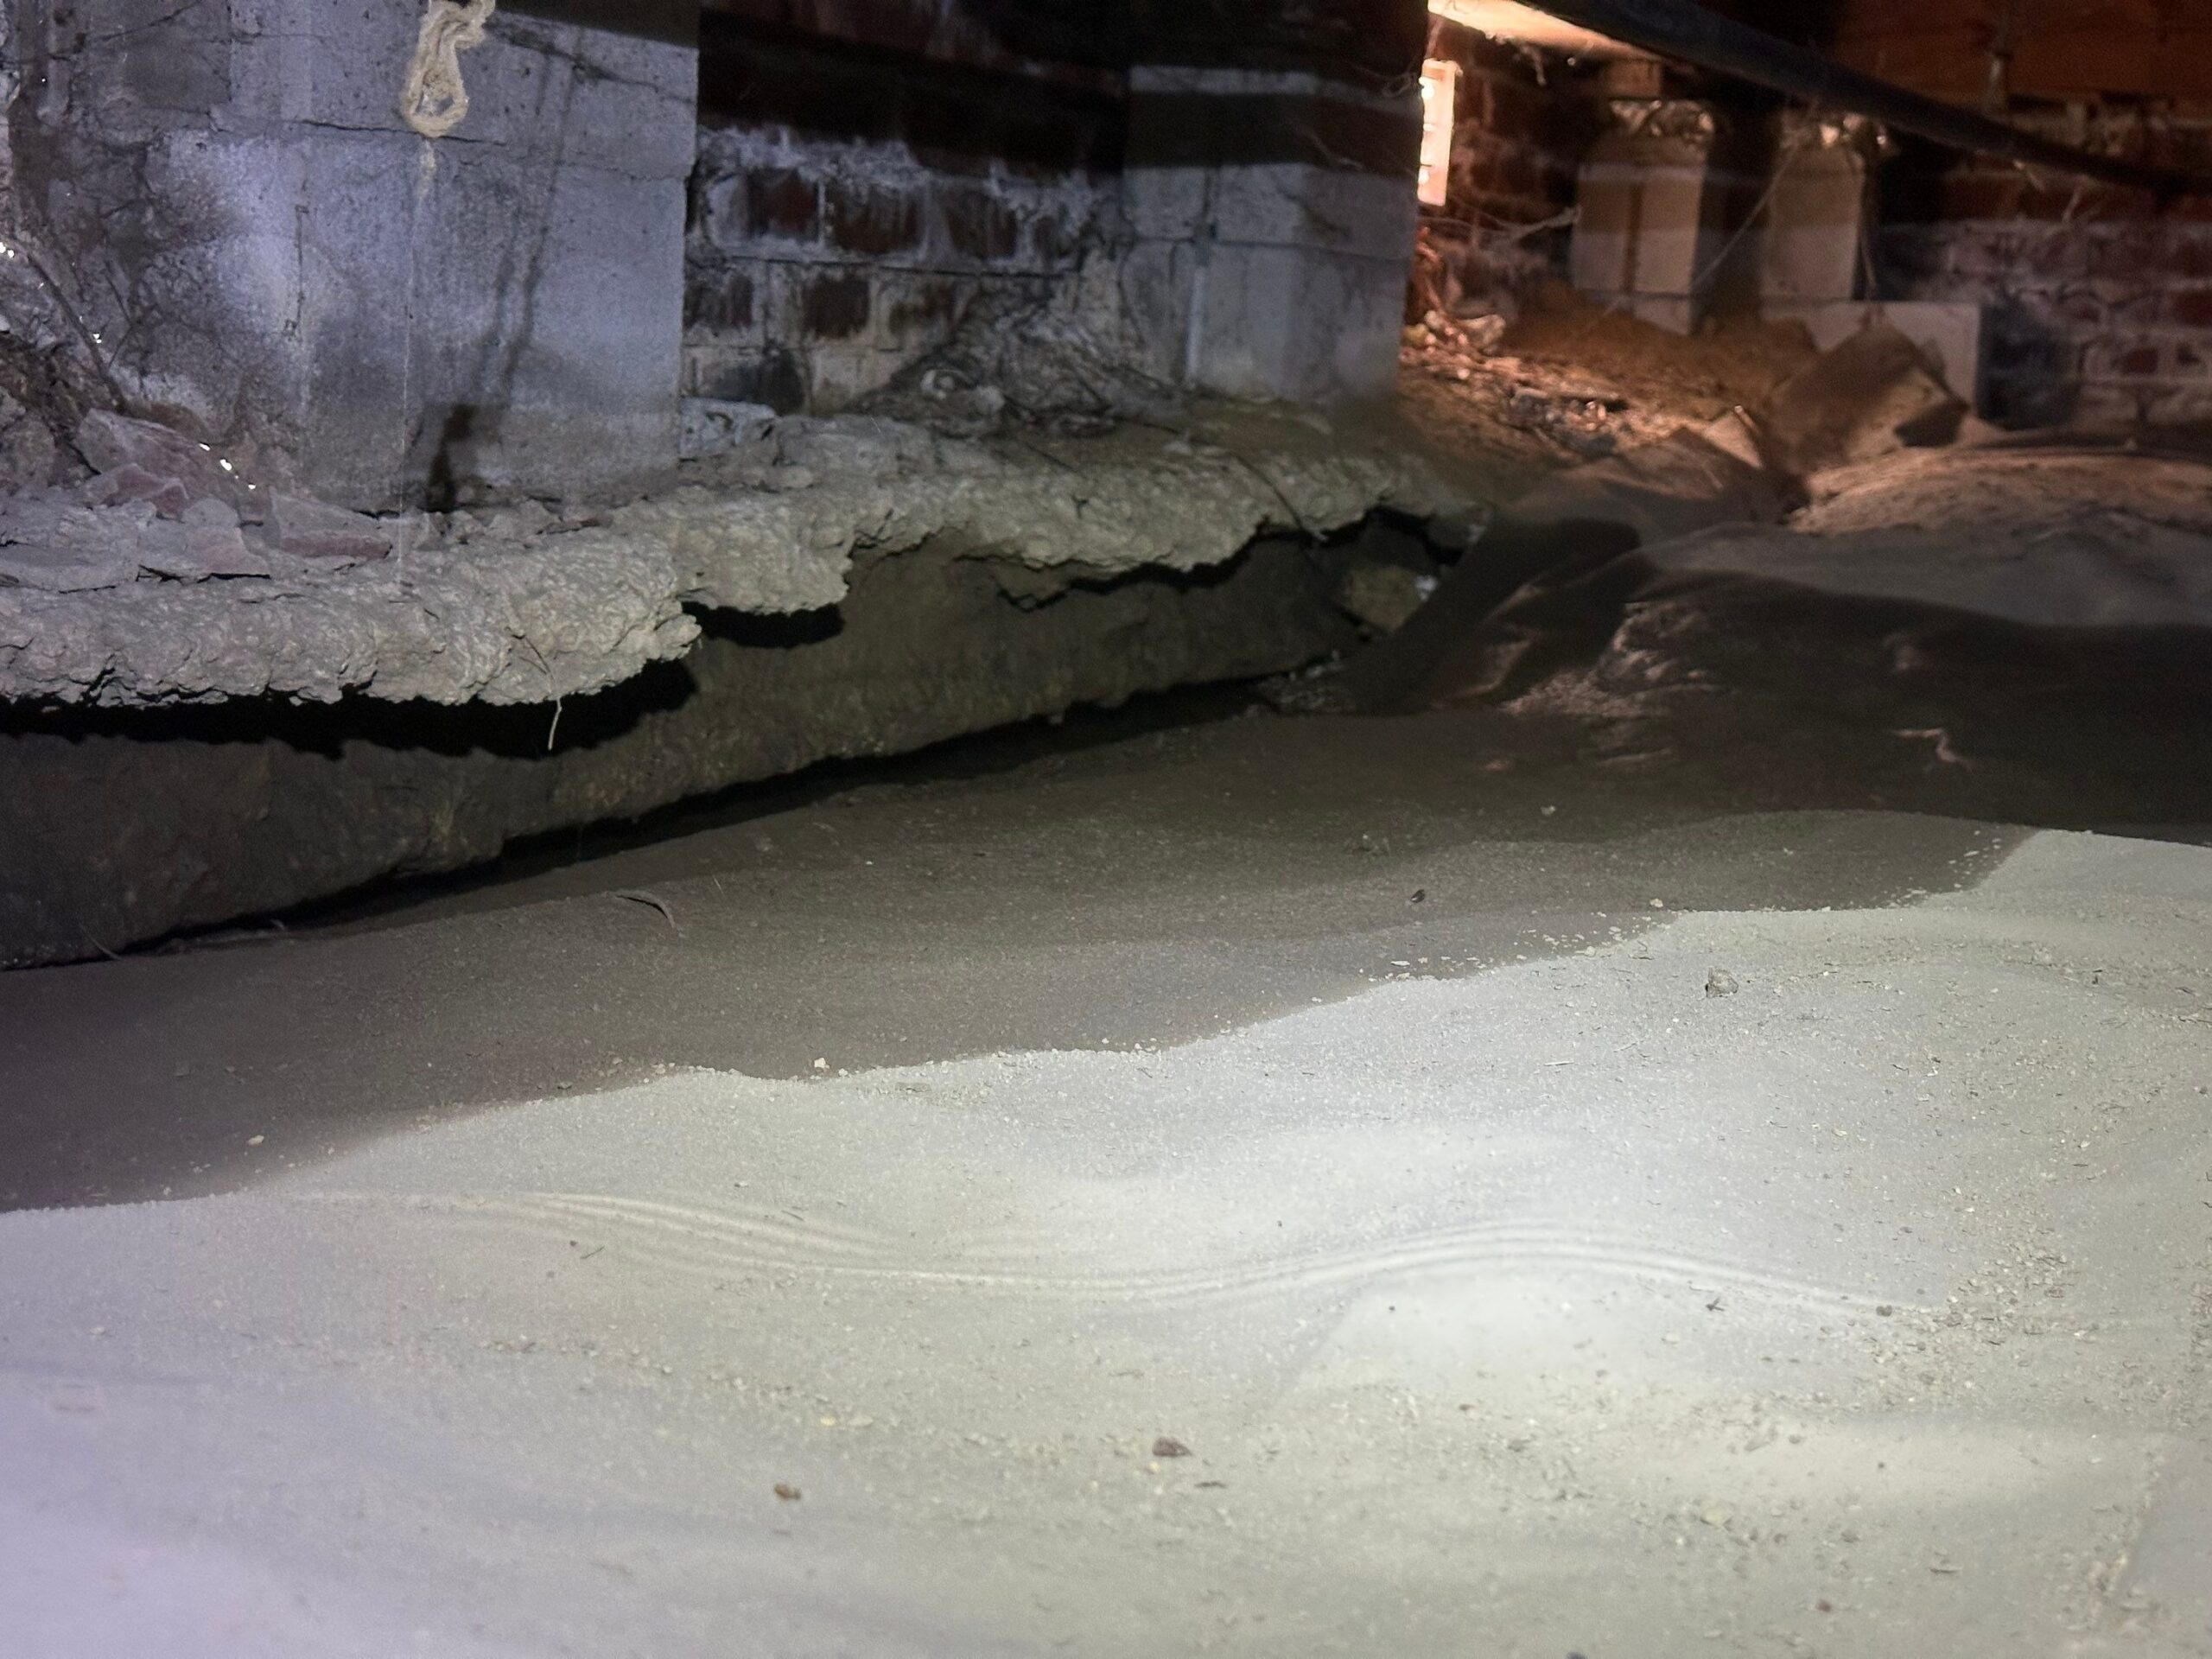
In Hampton Roads, hitting that target without mechanical help is difficult. The region’s coastal climate means baseline outdoor humidity is high for most of the year, and that humidity finds its way into crawl spaces through the ground, through foundation vents, and through gaps and cracks in the foundation walls. A crawl space that’s doing well in October can be sitting at 80 percent relative humidity in July without any obvious source of water intrusion. That’s just the environment here.
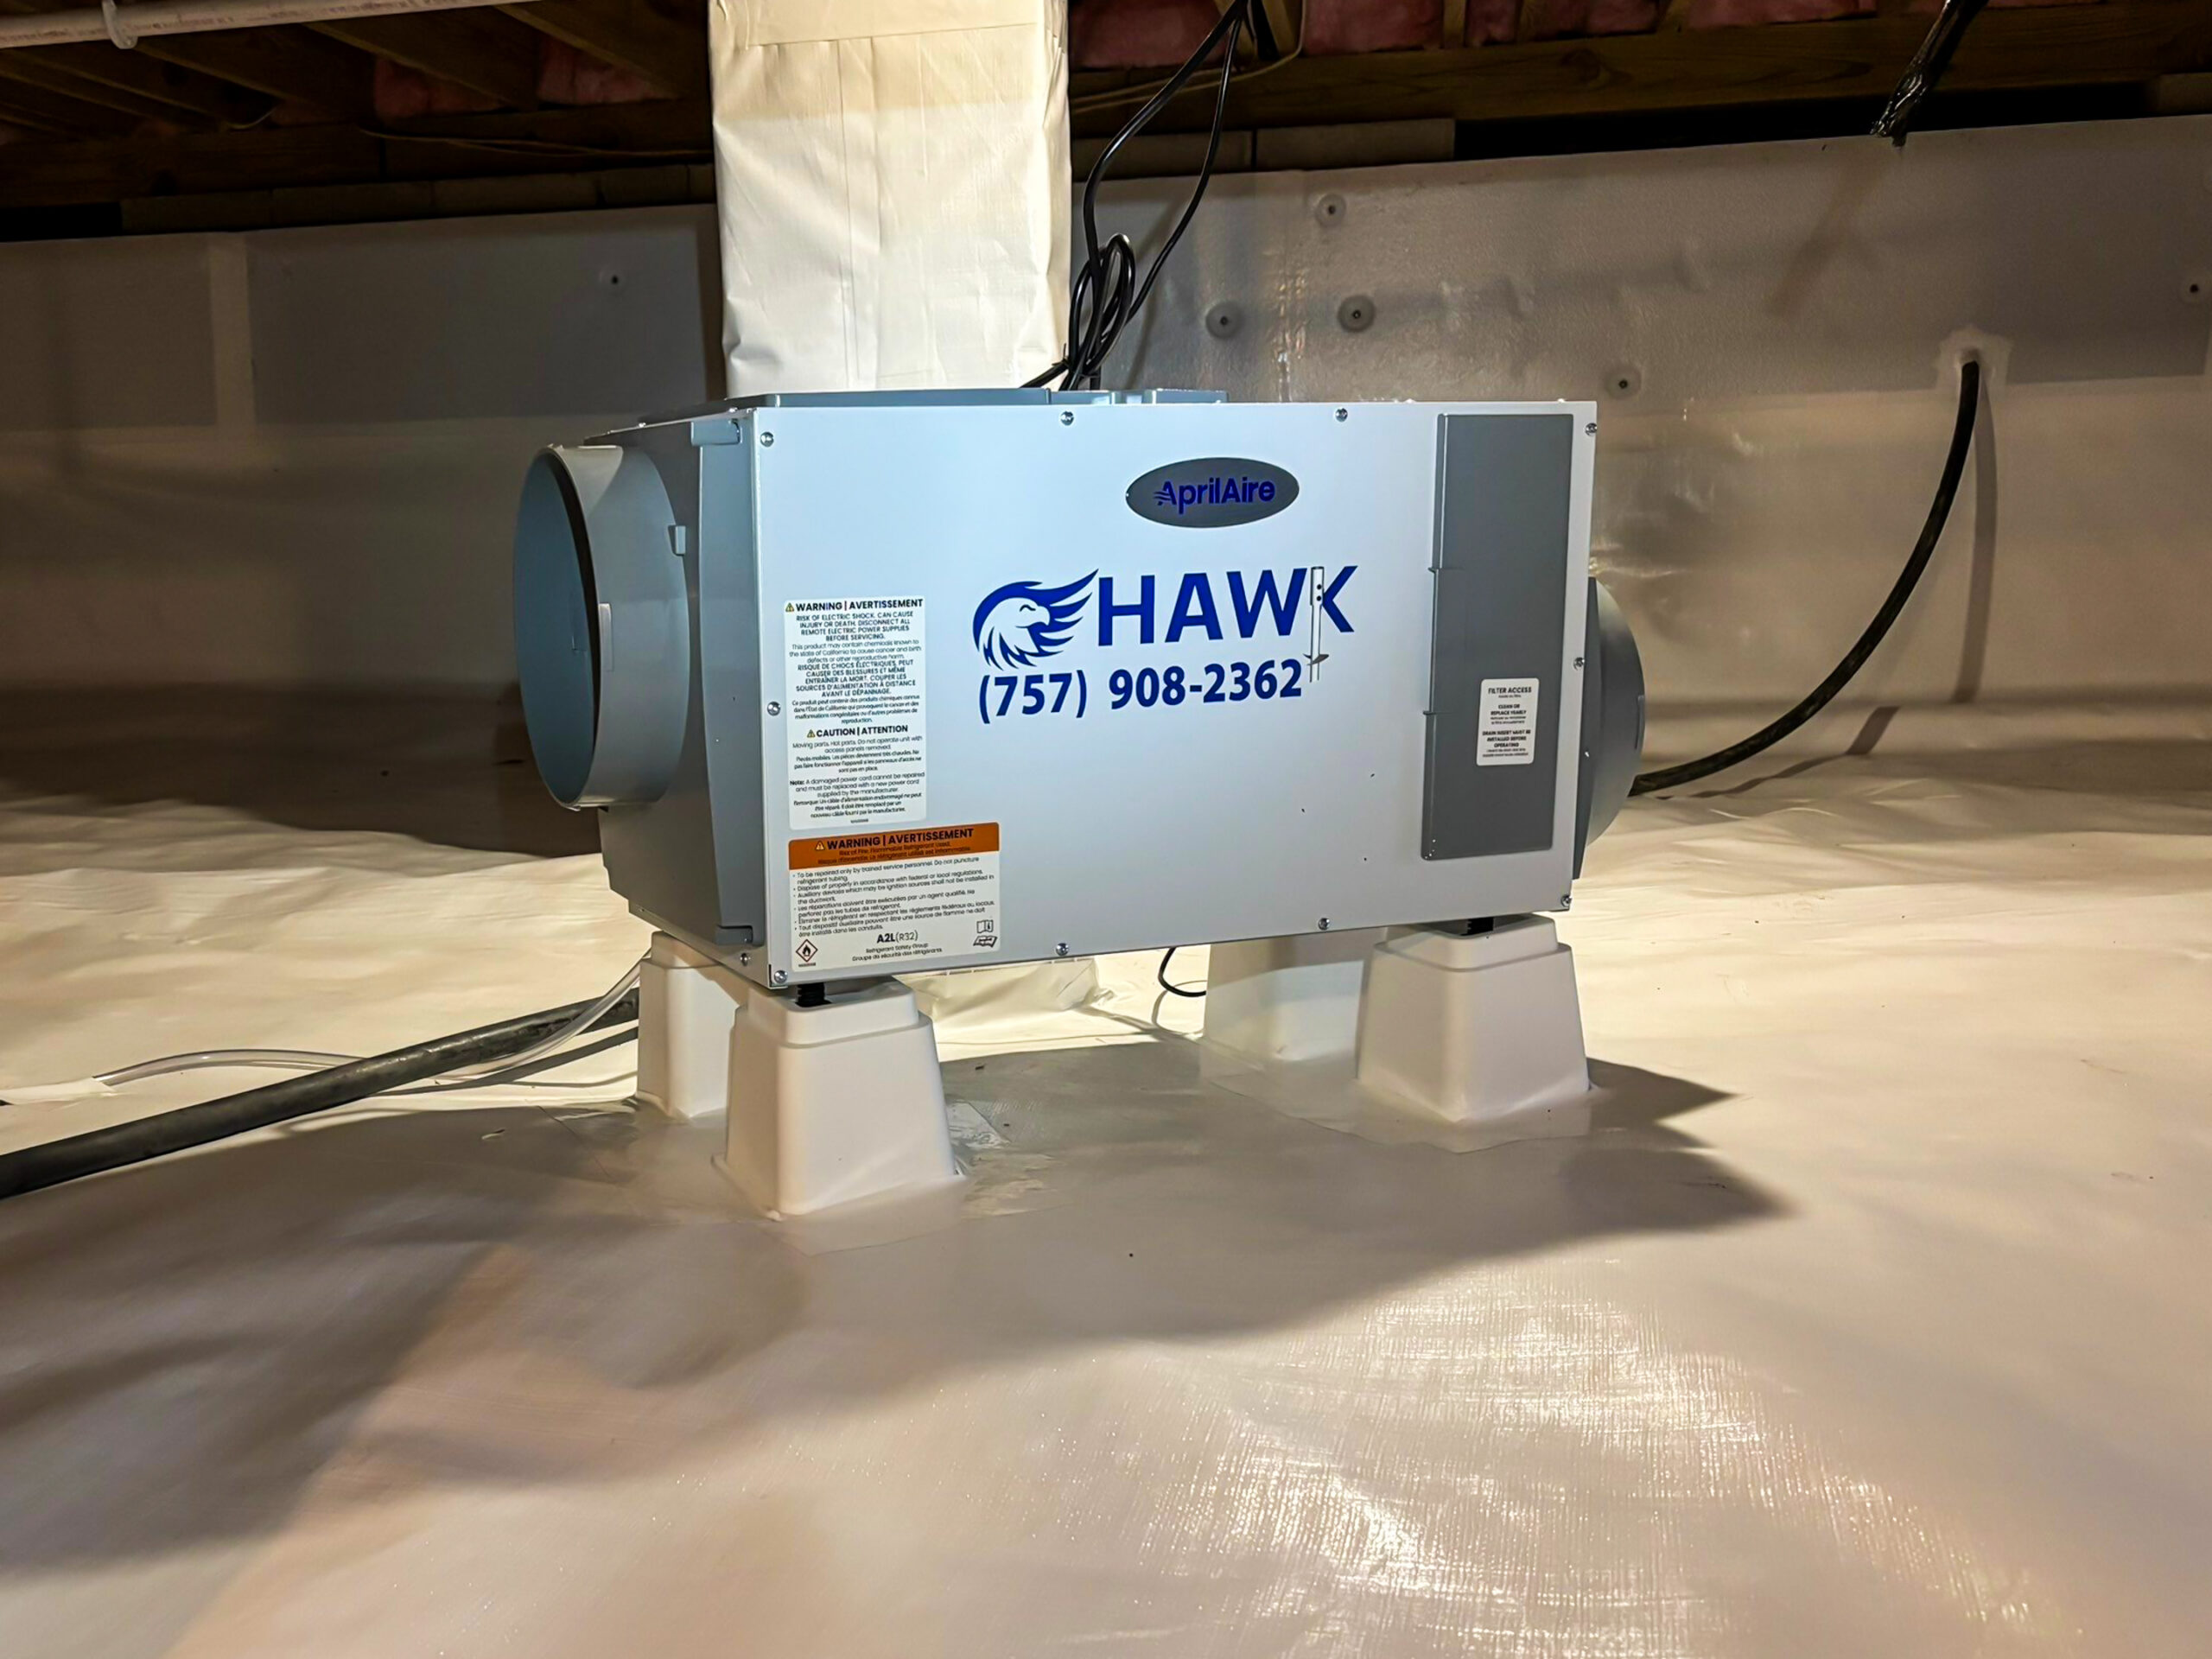
The dehumidifier is the active control component in a crawl space moisture management system. A vapor barrier handles ground moisture vapor. Sealed vents cut off humid outdoor air. The dehumidifier manages whatever moisture remains and keeps the space consistently dry regardless of what’s happening with the weather outside. The EPA recommends keeping indoor relative humidity below 60 percent to prevent mold growth, and in a crawl space that standard applies directly to the wood framing the rest of your house is sitting on.
Signs You Probably Need a Crawl Space Dehumidifier
Some of these are things you’ll notice inside the house, while others require a look at the crawl space itself.
A persistent musty smell on the first floor, especially during summer months when the house is closed up, is one of the more reliable indicators that crawl space humidity is elevated. That smell is mold and mildew, and because of the stack effect pulling air upward from below, crawl space air circulates into the living space continuously. If the crawl space smells, the house eventually smells.
Floors that feel cold in winter despite running the heat, or a first floor that never quite reaches the comfort level the thermostat suggests, can indicate that moisture has compromised the insulation between the floor joists. Wet insulation loses a significant portion of its rated thermal performance, and a crawl space with chronically high humidity is a crawl space where that insulation is underperforming year-round.
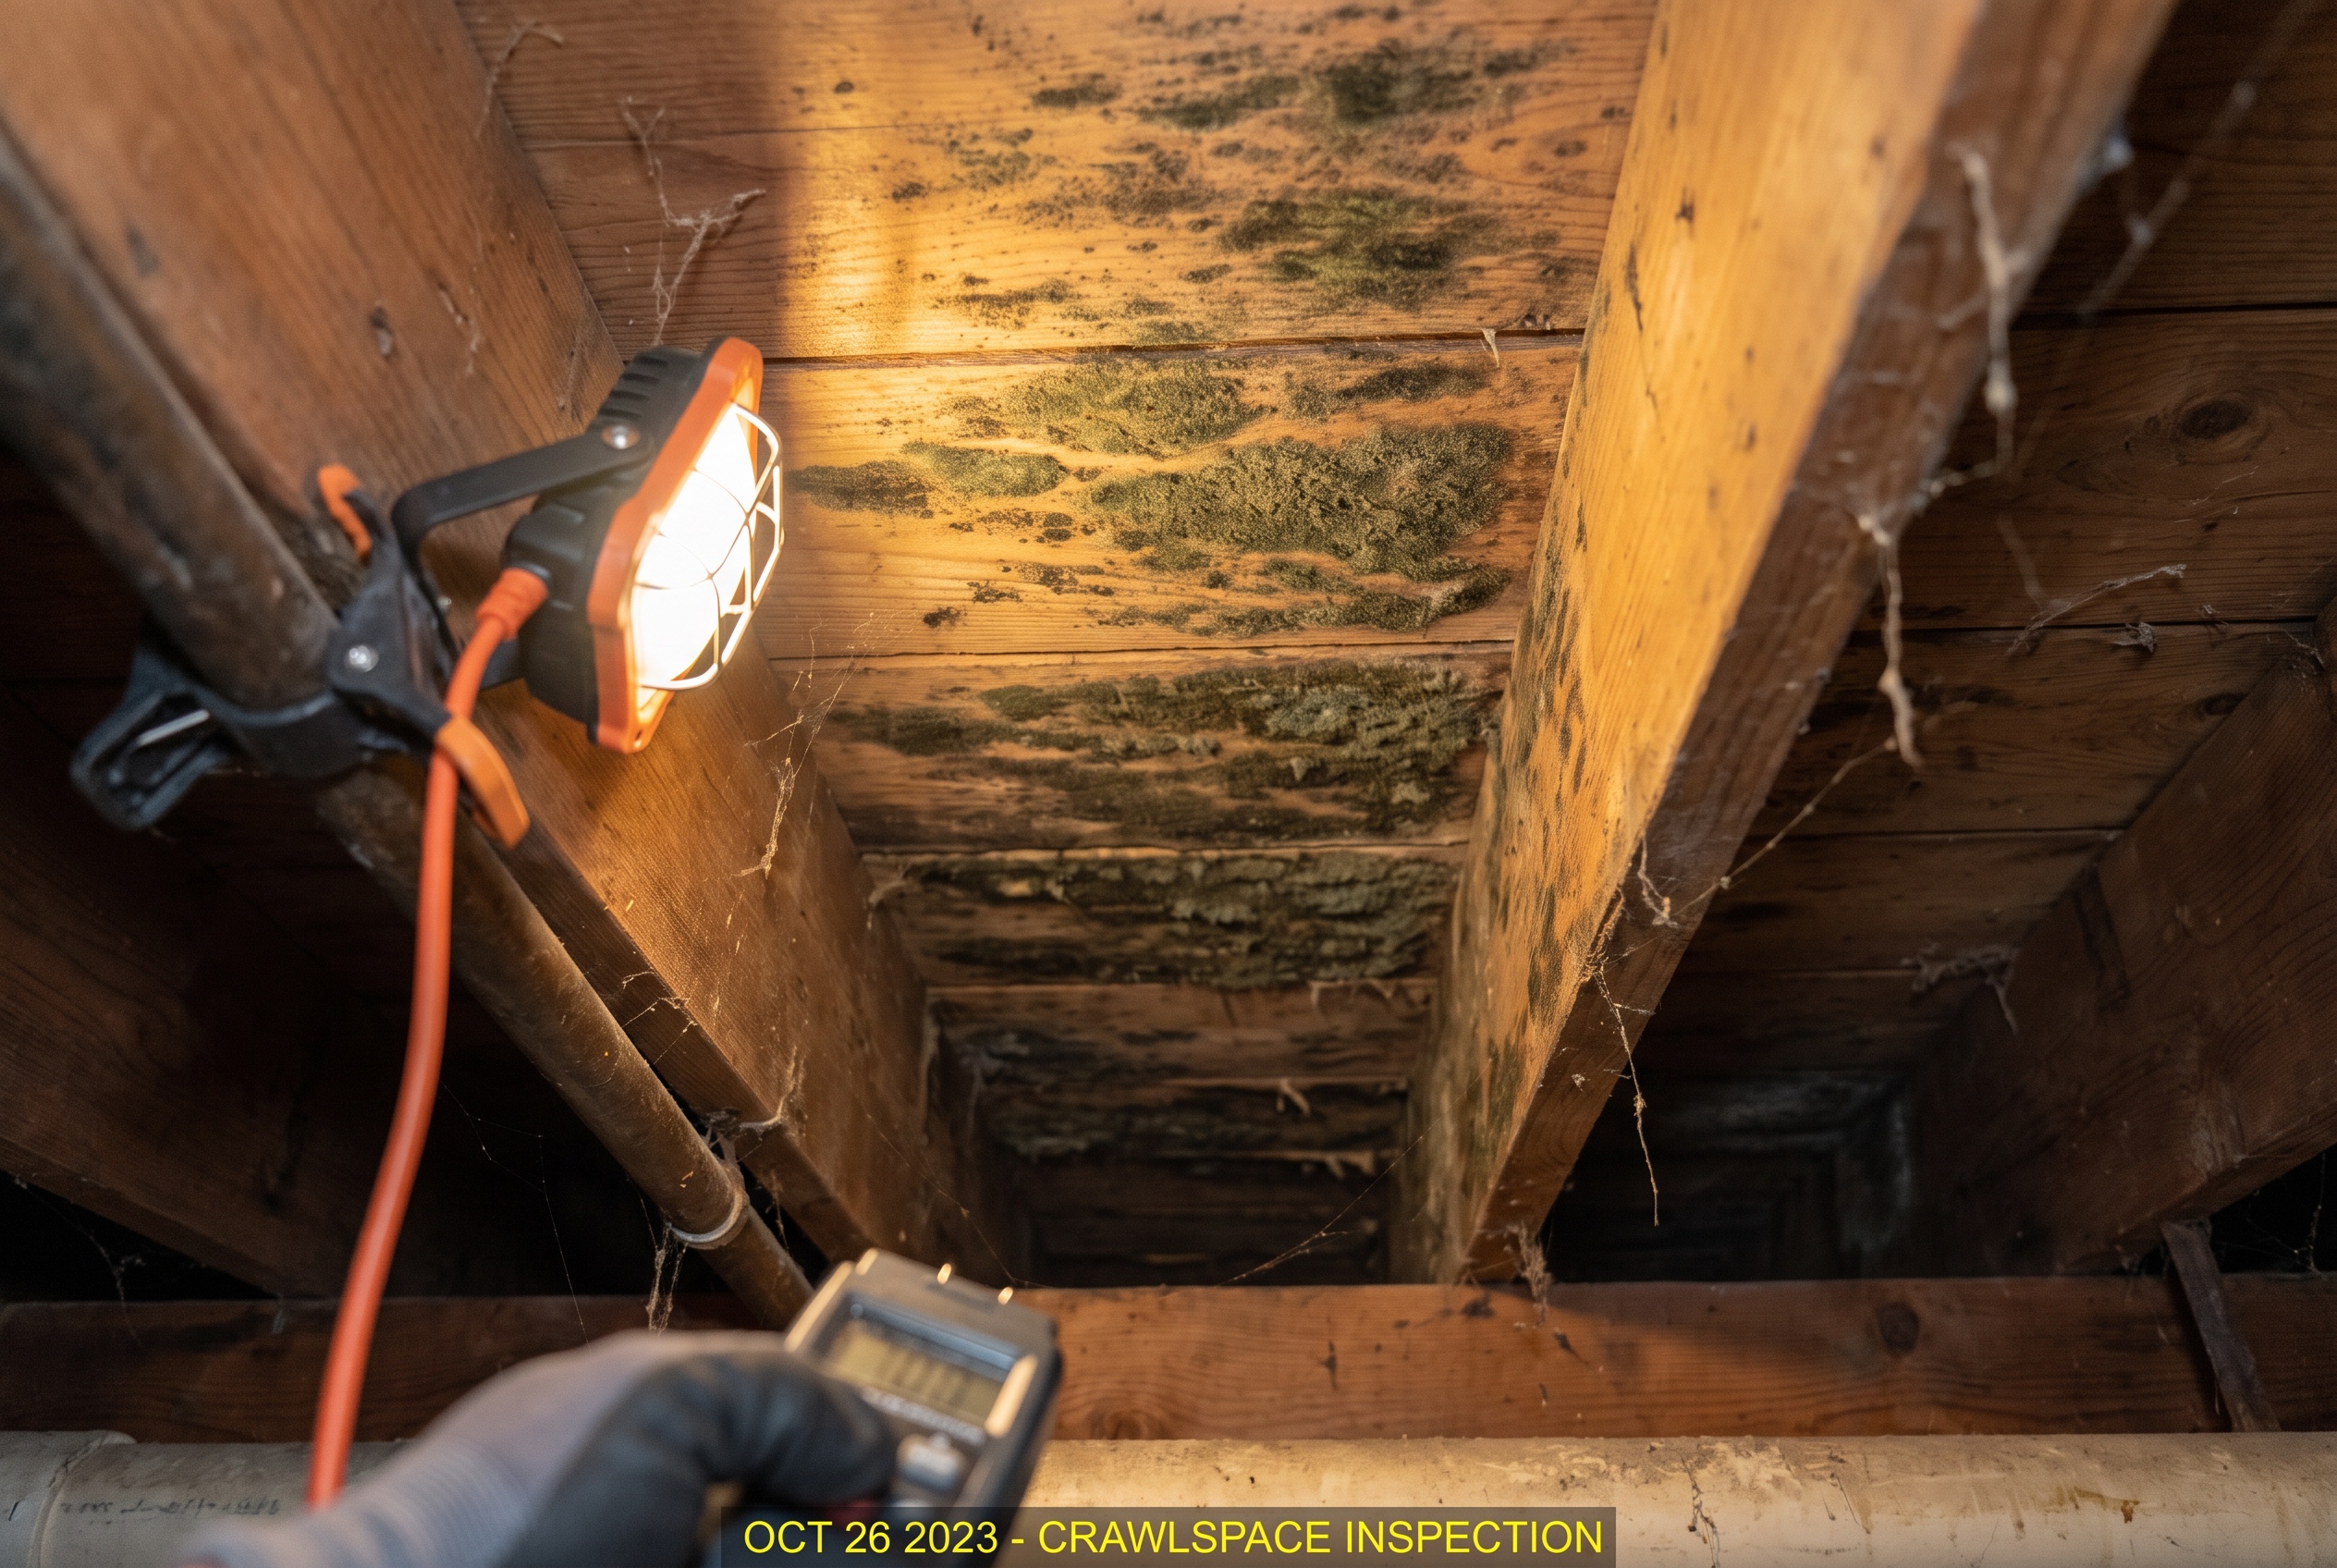
Inside the crawl space itself, condensation on the vapor barrier or on any metal surfaces, visible mold or dark staining on the joists or sill plates, insulation that’s sagging or pulling away from the joist faces, and any soft spots in the wood framing are all indicators that moisture has been elevated long enough to cause real effects. Any of these warrants both remediation and active humidity control going forward.
If you’ve had a moisture reading taken in your crawl space and it came back above 60 percent relative humidity during warmer months, that’s the clearest indicator of all. A properly sized dehumidifier is part of what brings that number down and keeps it there.
Can You Just Use a Regular Household Dehumidifier?
This is a question that comes up a lot, and the honest answer is that a standard portable dehumidifier from a big box store is not the right tool for a crawl space, even if it technically runs in one.
The main issue is capacity and design. Household dehumidifiers are built for conditioned living spaces with moderate humidity levels. A crawl space in Hampton Roads during summer is a different environment entirely: higher humidity loads, lower temperatures than a finished room, and often more square footage than a single portable unit is rated to handle. Running a residential unit in those conditions means it’s working at the edge of its design parameters constantly, which shortens its lifespan significantly and often means it still can’t keep up with the moisture load.
There’s also the drainage issue. Household dehumidifiers collect water in a reservoir that has to be manually emptied. In a crawl space that nobody checks regularly, that reservoir fills up, the unit shuts off on its safety switch, and the humidity climbs right back up. A crawl space dehumidifier is designed to drain continuously through a hose to a sump pit or drain, so it runs without interruption and without requiring anyone to go under the house to empty a bucket.
Professional-grade crawl space dehumidifiers are also rated for lower operating temperatures, built with corrosion-resistant components suited for the crawl space environment, and designed for the higher moisture loads this region generates. The upfront cost is higher than a portable unit, but a unit that actually keeps the space dry and runs reliably for ten or more years is a different value proposition than a cheaper unit that struggles, fails in a couple of years, and leaves the humidity problem unsolved in the meantime.
Dehumidifier Alone vs. Dehumidifier as Part of an Encapsulation System
This is where a lot of homeowners get the sequence wrong. A dehumidifier installed in an unencapsulated crawl space with open foundation vents is fighting a losing battle in a Hampton Roads summer. The unit will run almost continuously trying to keep up with the moisture load coming in through the vents and the ground, wear out faster than it should, and still may not hit the target humidity level during peak summer months. It’s the same principle as running an air conditioner with the windows open.
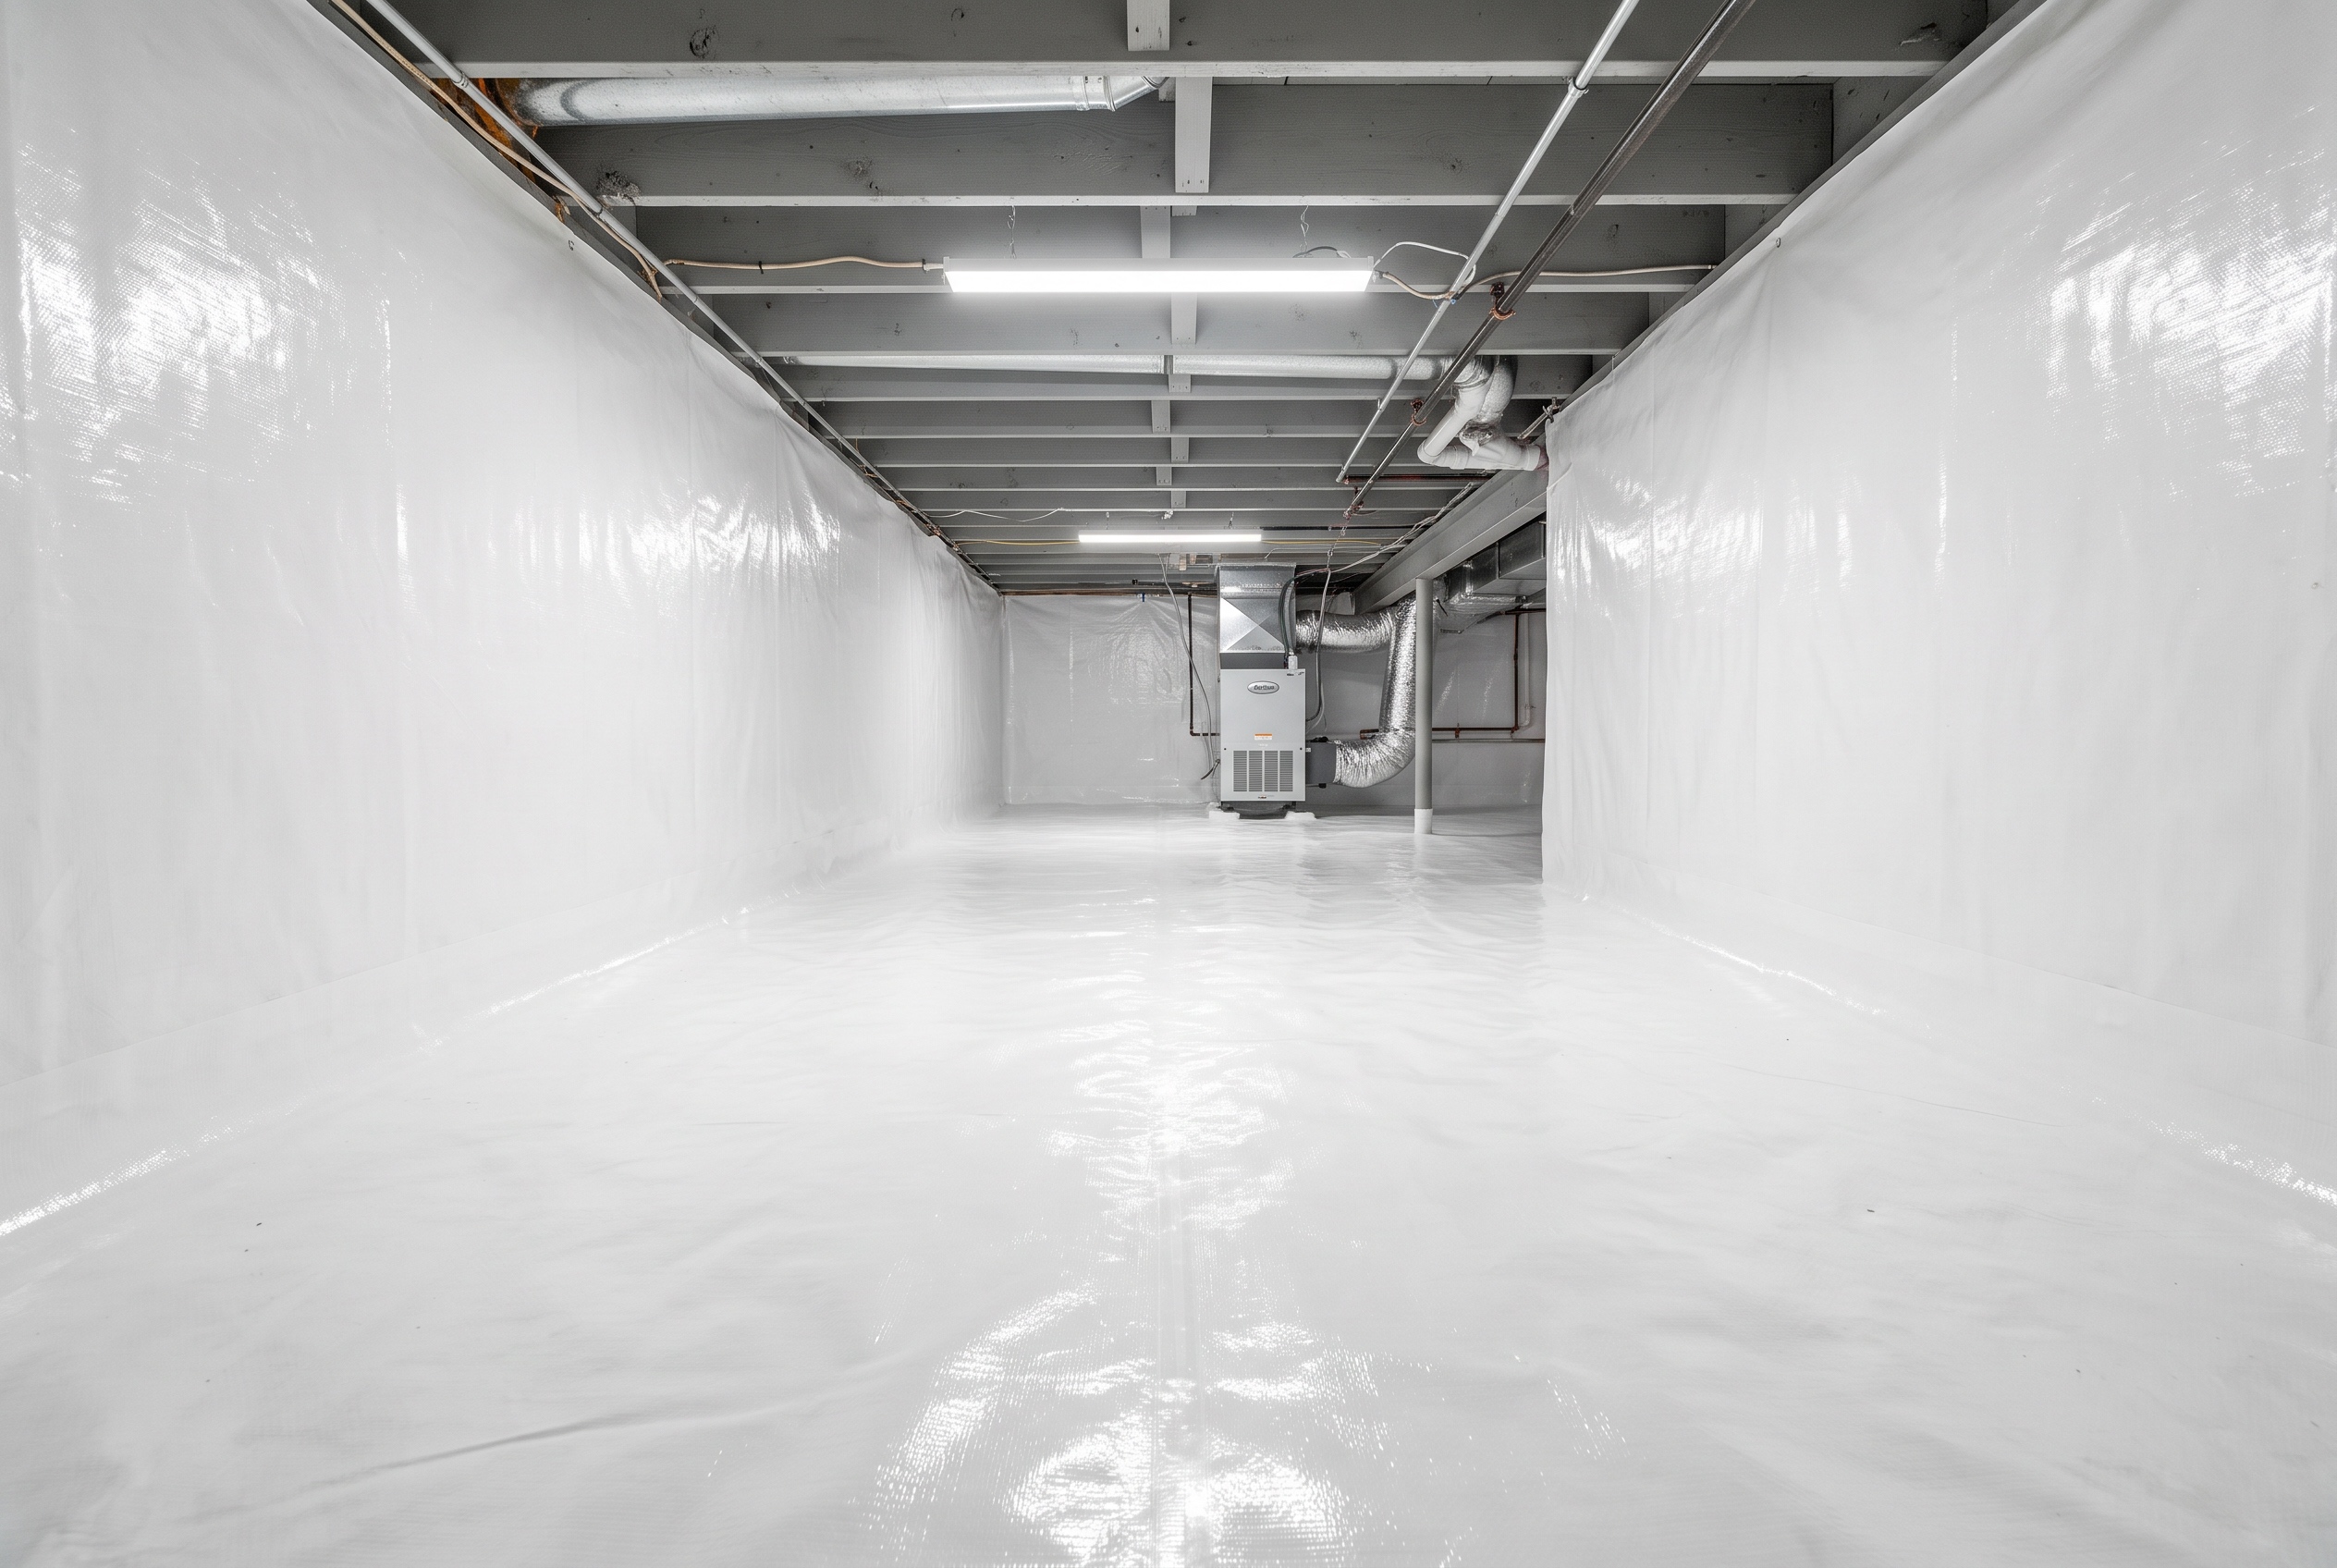
The right sequence is encapsulation first, dehumidifier second. A properly encapsulated crawl space with sealed vents and a quality vapor barrier creates a controlled environment where the dehumidifier is maintaining conditions rather than fighting an open-ended battle against outdoor humidity. In that context, a correctly sized unit runs efficiently, lasts longer, and keeps the space reliably below the humidity threshold where problems develop.
That said, there are situations where adding a dehumidifier makes sense as a standalone improvement, particularly if the crawl space already has a reasonably intact vapor barrier and the vents are sealed or the space is otherwise reasonably tight. A professional assessment of the specific conditions under your house is what determines the right approach. The Department of Energy’s guidance on crawl space conditioning supports the sealed crawl space model specifically because passive ventilation doesn’t work in humid climates, and active dehumidification as part of a sealed system is the approach that actually performs.
Sizing and Installation
Getting the sizing right matters more than most homeowners realize. A unit that’s too small runs constantly without reaching target humidity. A unit that’s oversized cycles on and off too frequently and doesn’t run long enough to effectively dehumidify the air. Proper sizing accounts for the square footage of the crawl space, the ceiling height, the current moisture load, and the specific conditions of the space.
Installation involves positioning the unit for adequate airflow, setting up the continuous drain line, and in some cases installing a condensate pump if there’s no gravity drain available. Most professional installations also include a humidistat that allows the unit to be set to a target humidity level and cycle automatically to maintain it rather than running continuously regardless of conditions.
If you’re not sure whether your crawl space needs a dehumidifier, what size it needs, or whether encapsulation should come first, that’s exactly what a professional inspection is for. At Hawk we’ll assess the moisture conditions, look at what’s already in place, and give you a clear recommendation on what the space actually needs. Our inspections are free and there’s no obligation. Schedule yours here.
Frequently Asked Questions
How much does a crawl space dehumidifier cost to run?
Operating cost depends on the unit’s wattage, how often it runs, and your local electricity rates. A properly sized unit in a well-encapsulated crawl space runs less frequently than an undersized unit fighting high humidity, which keeps operating costs lower. Units sized and installed correctly in a sealed crawl space typically run intermittently to maintain target humidity rather than continuously, which is both more effective and more efficient than a struggling undersized unit running flat out.
How long does a crawl space dehumidifier last?
A quality professional-grade unit, properly maintained, should last ten to fifteen years or more. The key factors are whether it was correctly sized for the space, whether the crawl space is properly sealed so the unit isn’t overworked, and whether it receives basic annual maintenance: cleaning the coils, checking the drain line, and making sure the unit is functioning correctly. A unit that’s been running at capacity in a high-humidity environment without maintenance will have a shorter lifespan than one that’s well matched to a controlled space.
Do I need to do anything to maintain a crawl space dehumidifier?
Yes, though the maintenance is fairly minimal. The filter needs to be cleaned periodically, the coils should be inspected and cleaned annually, and the drain line should be checked to make sure it’s clear and draining properly. If the unit has a humidistat, it’s worth verifying it’s reading accurately. Annual professional servicing is a reasonable practice for units doing significant work in demanding conditions like a Hampton Roads crawl space.
Will a crawl space dehumidifier fix my mold problem?
A dehumidifier prevents mold from growing by keeping humidity below the level where it can establish. It does not remediate existing mold. If there’s already mold growth on the framing in your crawl space, that needs to be addressed through professional remediation before moisture control measures are put in place. Installing a dehumidifier in a crawl space with active mold manages the humidity going forward but doesn’t undo the existing growth. You can read more about what crawl space mold removal involves and how remediation and moisture control work together as part of the same solution.