Crawl Space Mold Prevention: How to Keep It From Coming Back
If you’ve already dealt with mold in your crawl space, you know how disruptive and expensive remediation can be. If you haven’t, keeping it that way is worth some deliberate effort. In Hampton Roads, where the humidity is relentless and crawl spaces deal with moisture pressure from multiple directions at once, mold prevention isn’t something that happens on its own. It requires the right conditions under your house, and those conditions don’t exist by accident.
This post is for two groups of homeowners: those who just had crawl space mold removed and want to make sure it doesn’t come back, and those who haven’t had a problem yet and want to keep it that way. The approach is largely the same either way.
Why Crawl Space Mold Prevention Starts With Understanding What Mold Needs
Mold is not complicated. It needs three things to grow: a food source, the right temperature, and moisture. In a crawl space, the food source is the wood framing and it’s not going anywhere. The temperature range that mold thrives in covers most of what a coastal Virginia crawl space experiences year-round. That leaves moisture as the only variable you can actually control.
Every effective mold prevention strategy in a crawl space is really a moisture control strategy. The specific methods vary depending on where the moisture is coming from, but the goal is always the same: keep relative humidity in the crawl space consistently below the threshold where mold can establish and grow. The EPA identifies 60 percent relative humidity as the general threshold above which mold growth becomes likely on organic surfaces. In an uncontrolled Hampton Roads crawl space in July, humidity levels well above that are common.
The Main Sources of Crawl Space Moisture in Hampton Roads
Effective prevention means knowing where the moisture is actually coming from. In this region, there are usually a few sources working at the same time.
Ground moisture vapor. Soil holds water, and that water evaporates upward continuously. In a crawl space without a proper vapor barrier, that moisture vapor rises into the air of the space and raises humidity levels even when there’s no standing water and no visible dampness. This is the baseline moisture load that every unencapsulated crawl space in the region is dealing with every day.
Outdoor air through foundation vents. Vented crawl spaces were designed with the idea that airflow would carry moisture out. In a dry inland climate that logic has some merit. In coastal Virginia it backfires badly. Summer air here is hot and saturated with humidity. When that air enters a cooler crawl space, it loses its capacity to hold moisture and deposits it on every surface it contacts: the joists, the vapor barrier, the insulation, the ground. Venting a crawl space in this climate doesn’t dry it out, it keeps it wet throughout the warmest and most mold-favorable months of the year.
Surface water and groundwater intrusion. After heavy rain, water can enter the crawl space through cracks in the foundation walls, through gaps around penetrations, or directly up through the ground as the water table rises. Neighborhoods in low-lying parts of Chesapeake, near waterways in Norfolk and Virginia Beach, or anywhere with a history of standing water in the yard after storms are dealing with this more acutely. A single flooding event that doesn’t dry out quickly is enough to start mold growth within a couple of days.
Plumbing leaks. Slow leaks from supply lines or drain pipes running through the crawl space can introduce moisture in a concentrated area over a long period. Because nobody is looking at the crawl space regularly, these leaks sometimes go undetected for months. By the time the floor above shows any sign of a problem, mold has usually had significant time to develop in the affected area.
What Actually Prevents Crawl Space Mold
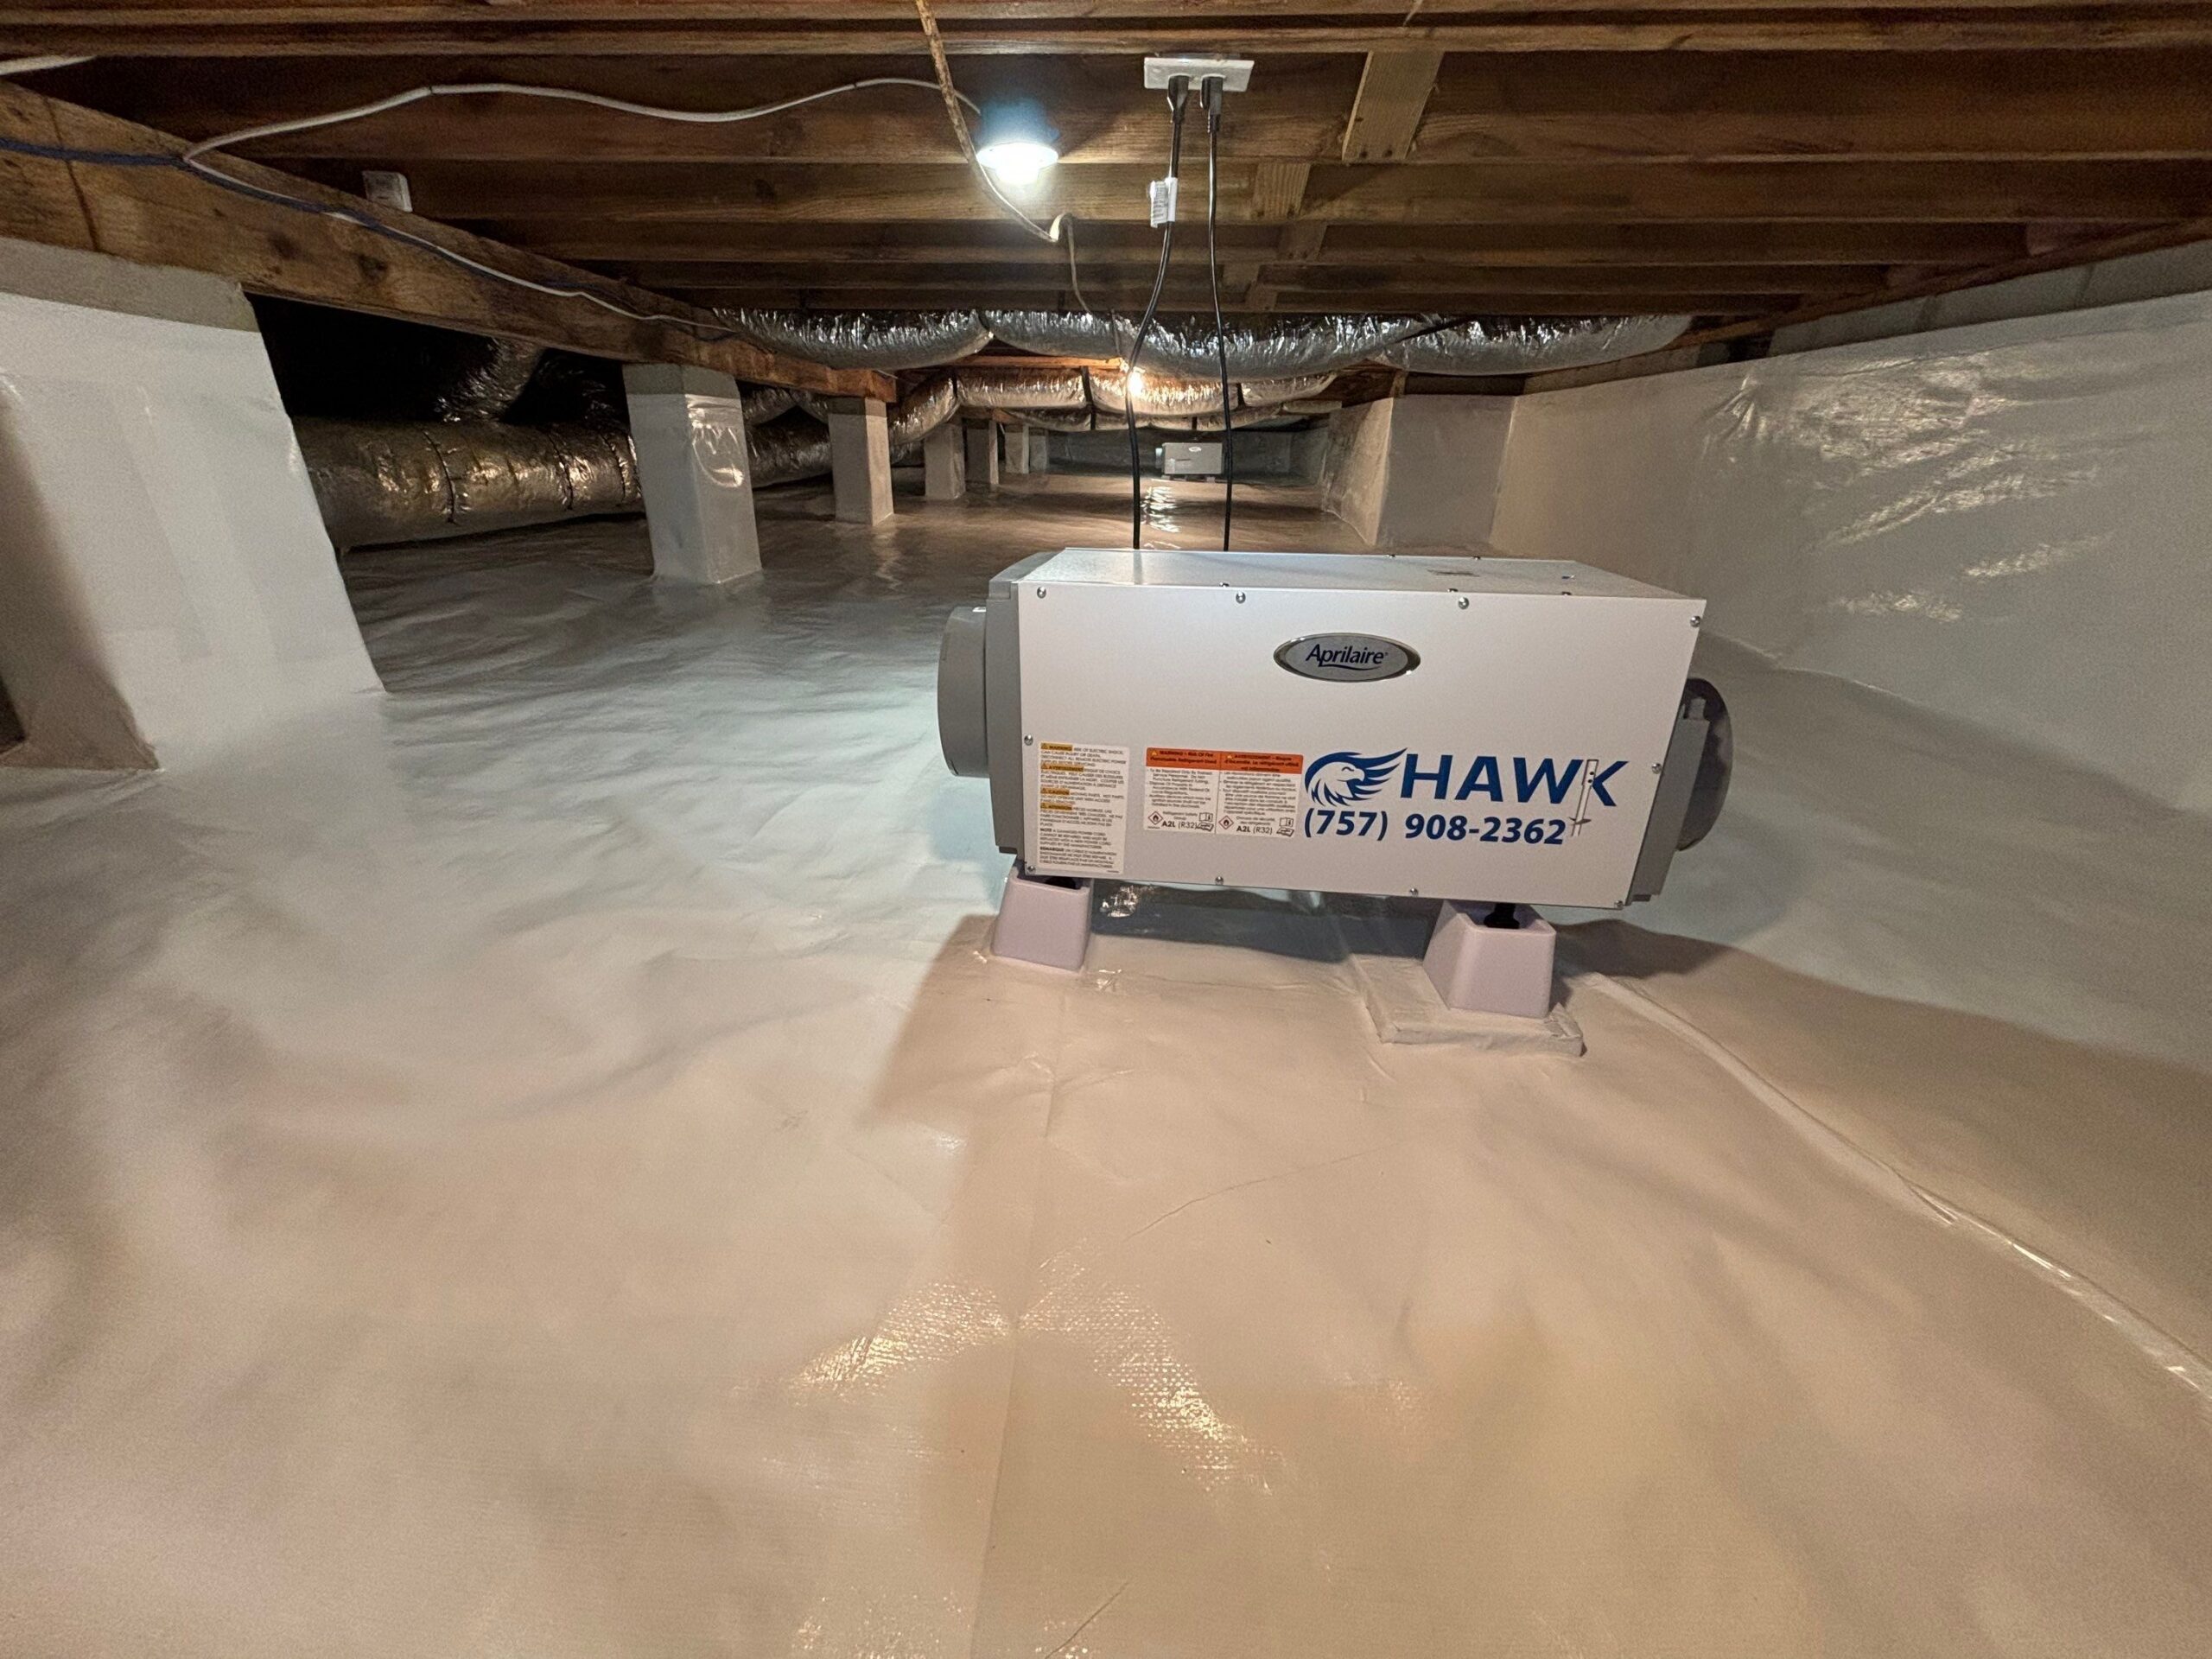
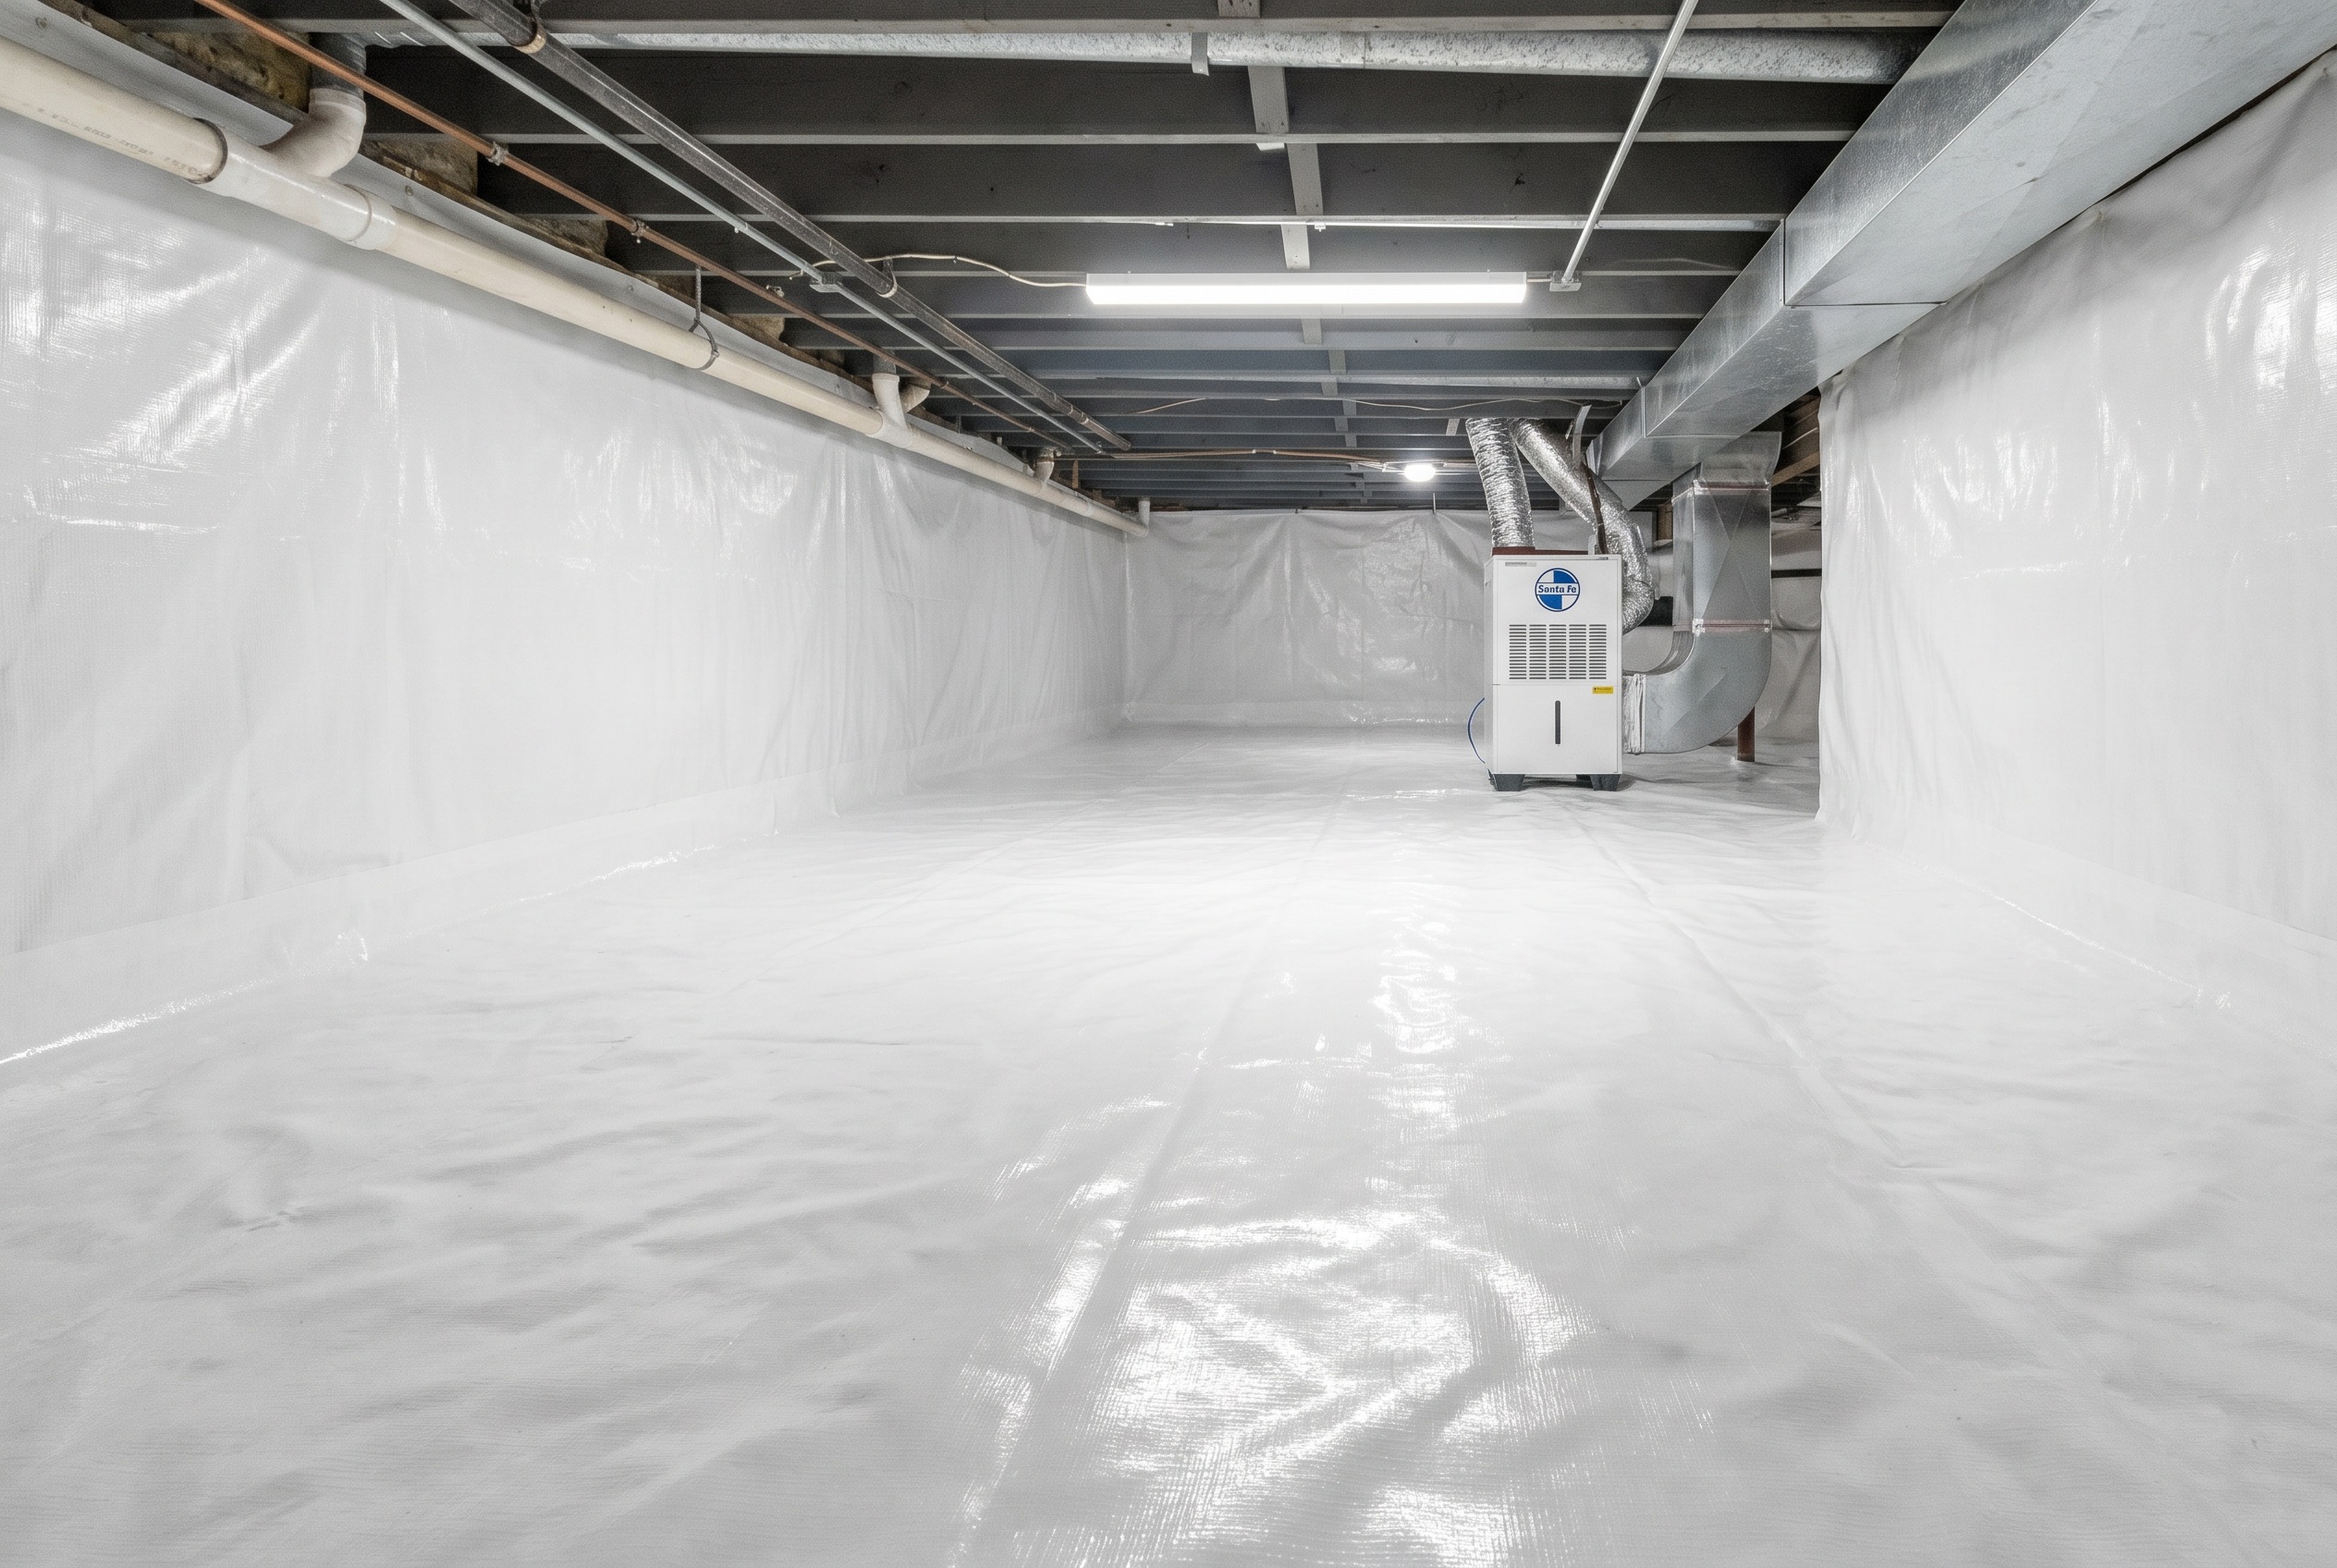
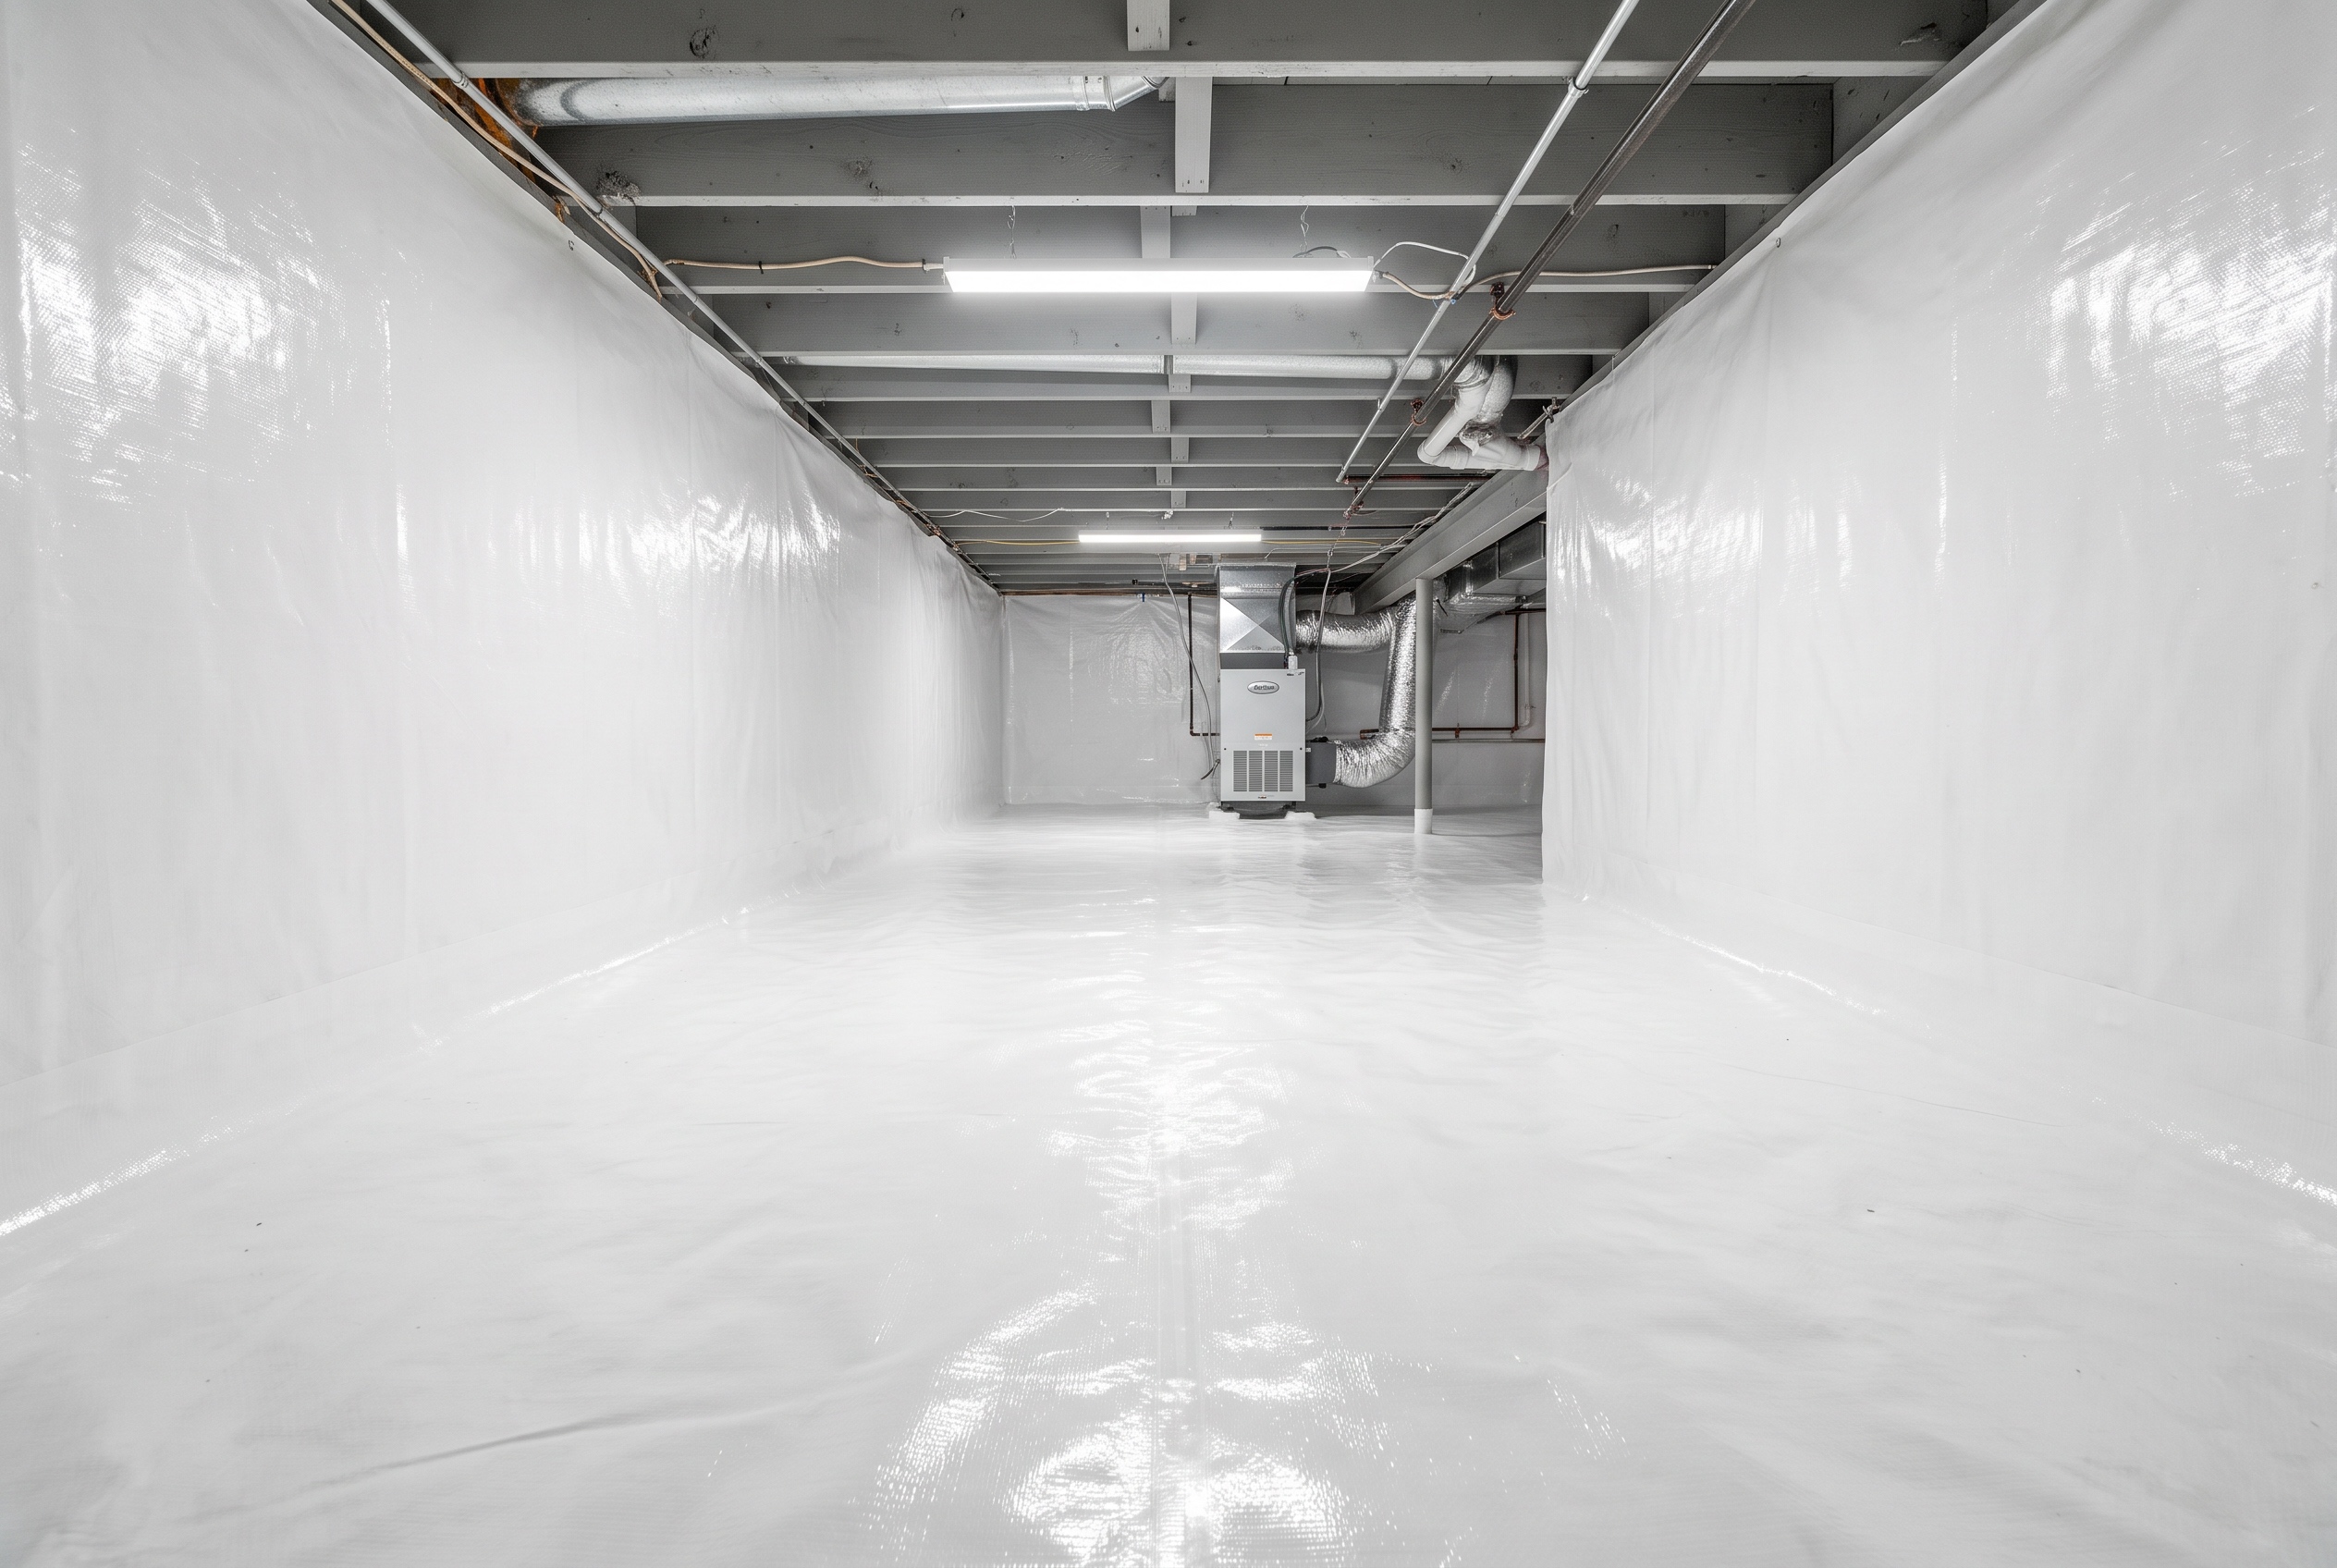
A quality vapor barrier, properly installed. A vapor barrier covering the ground is the baseline requirement. But the details matter. A 6-mil plastic sheet loosely laid on the ground with gaps at the seams and edges pulled away from the walls isn’t doing much. An effective vapor barrier is a heavy-duty reinforced liner, 12-mil thickness or better, that covers the entire ground surface, laps up the foundation walls, and is mechanically fastened and taped at all seams and edges so there’s no exposed soil anywhere in the space. That level of installation blocks the primary source of moisture vapor in most crawl spaces and makes a meaningful difference in humidity levels. You can read more about crawl space vapor barrier installation and what proper installation looks like.
Sealing the foundation vents. For Hampton Roads homes specifically, sealing the crawl space vents is one of the higher-impact changes you can make for mold prevention. It cuts off the primary entry point for humid summer air and allows the crawl space to be managed as a conditioned environment rather than a space that’s constantly exchanging air with the outdoors. This is a standard component of full encapsulation and a significant reason why encapsulated crawl spaces in this region perform so much better on moisture control than vented ones.
Active dehumidification. Even with a quality vapor barrier and sealed vents, some moisture will still make its way into the crawl space through the walls, around penetrations, and through small gaps. A properly sized professional-grade dehumidifier maintains relative humidity below the threshold where mold can grow regardless of what’s happening with outdoor humidity or seasonal moisture fluctuations. This is the active control component that keeps the system working consistently rather than relying on passive measures alone. A dehumidifier sized too small for the space will run constantly and still not keep up. Sizing matters.
Full encapsulation. A complete encapsulation system combines all of the above into one integrated approach: heavy-duty liner covering the ground and walls, sealed vents, and active dehumidification. In Hampton Roads conditions, this is the most reliable long-term solution for crawl space mold prevention because it addresses all three moisture sources simultaneously rather than managing them one at a time. Crawl space encapsulation is particularly well suited to the coastal Virginia environment for the same reason it’s recommended for energy efficiency: the humidity here is too persistent and comes from too many directions for partial measures to hold up season after season.
Drainage management. Preventing surface water and groundwater from entering the crawl space in the first place is part of a complete mold prevention strategy. This means making sure gutters and downspouts are directing water well away from the foundation, that the ground around the house slopes away from it rather than toward it, and that any active water intrusion through the foundation walls or floor is addressed with drainage solutions like a French drain or sump pump before it becomes a recurring moisture problem inside the space.
Regular inspections. None of the above prevents a plumbing leak, pest damage to the vapor barrier, or a drainage issue that develops gradually over time. Getting a professional set of eyes in the crawl space every year or two catches problems before they become mold problems. Most homeowners never look under their house between the time they buy it and the time a symptom shows up inside. In a climate like this one, that’s a long time for conditions to develop unchecked. The U.S. Department of Energy notes that properly managed crawl spaces improve both moisture control and energy performance, two problems that tend to show up together when a crawl space has been left unattended.
If You Just Had Mold Remediated
The period right after remediation is critical. The mold is gone but the crawl space is the same environment it was before, and without changes to moisture control, regrowth is a real possibility. Whatever moisture conditions allowed the mold to establish in the first place need to be corrected before the project is considered finished.
A good remediation contractor will make specific recommendations about what moisture control measures need to follow the cleanup. If yours didn’t, or if you want a second opinion on what the crawl space needs going forward, a fresh inspection is the right starting point. You can read more about what the crawl space mold removal process looks like and how remediation and prevention work together as part of the same solution.
At Hawk, we offer free crawl space inspections with no obligation. Whether you’re coming off a remediation project or just want to understand what your crawl space’s moisture situation looks like before it becomes a problem, we’ll get under there and give you a straight read on what we find. Schedule your free inspection here.
Frequently Asked Questions
How often should I inspect my crawl space for mold?
Once a year is a reasonable baseline for most homes in Hampton Roads, with an additional check after any significant weather event, heavy flooding, or plumbing issue that might have introduced moisture. If your crawl space is fully encapsulated with a dehumidifier, annual checks are usually sufficient to catch any developing issues before they become serious. Unencapsulated crawl spaces in this region benefit from more frequent attention given the persistent moisture environment.
Can I just spray an antimicrobial treatment on the joists as prevention?
Antimicrobial coatings and mold-resistant treatments applied to wood can be part of a remediation process, but they’re not a substitute for moisture control. If the humidity in the crawl space stays above the threshold where mold thrives, a surface treatment will slow things down but won’t stop mold from eventually establishing on untreated surfaces nearby. The coating is a secondary measure. Getting the moisture under control is the primary one.
Does mold prevention require full encapsulation, or are there simpler options?
It depends on the severity of the moisture situation. A crawl space with minor ground moisture and no active water intrusion might do reasonably well with a quality vapor barrier and a properly sized dehumidifier. A crawl space with vents letting in humid summer air, any history of water intrusion, or elevated humidity that’s been a persistent issue really needs the full system to stay reliably below mold-growth conditions year-round. In Hampton Roads, the baseline conditions push most homes toward needing the more complete approach, but an inspection will tell you where your specific crawl space falls on that spectrum.
Is there a time of year when mold prevention matters most?
Summer is the highest-risk season in coastal Virginia. The combination of high outdoor humidity, warm temperatures, and storm activity creates peak conditions for mold growth in uncontrolled crawl spaces. That said, prevention isn’t a seasonal effort. A dehumidifier needs to run year-round, a vapor barrier works every day, and the drainage issues that allow water intrusion can happen in any season. Thinking about crawl space moisture as a year-round management issue rather than a summer problem is the right frame for this region.